LeadRecoverly Setup Guide for HubSpot
This public setup guide is specific to the LeadRecoverly HubSpot integration. It explains installation, configuration, day-to-day use, approved write actions, disconnecting, uninstalling, and data consequences.
What LeadRecoverly does
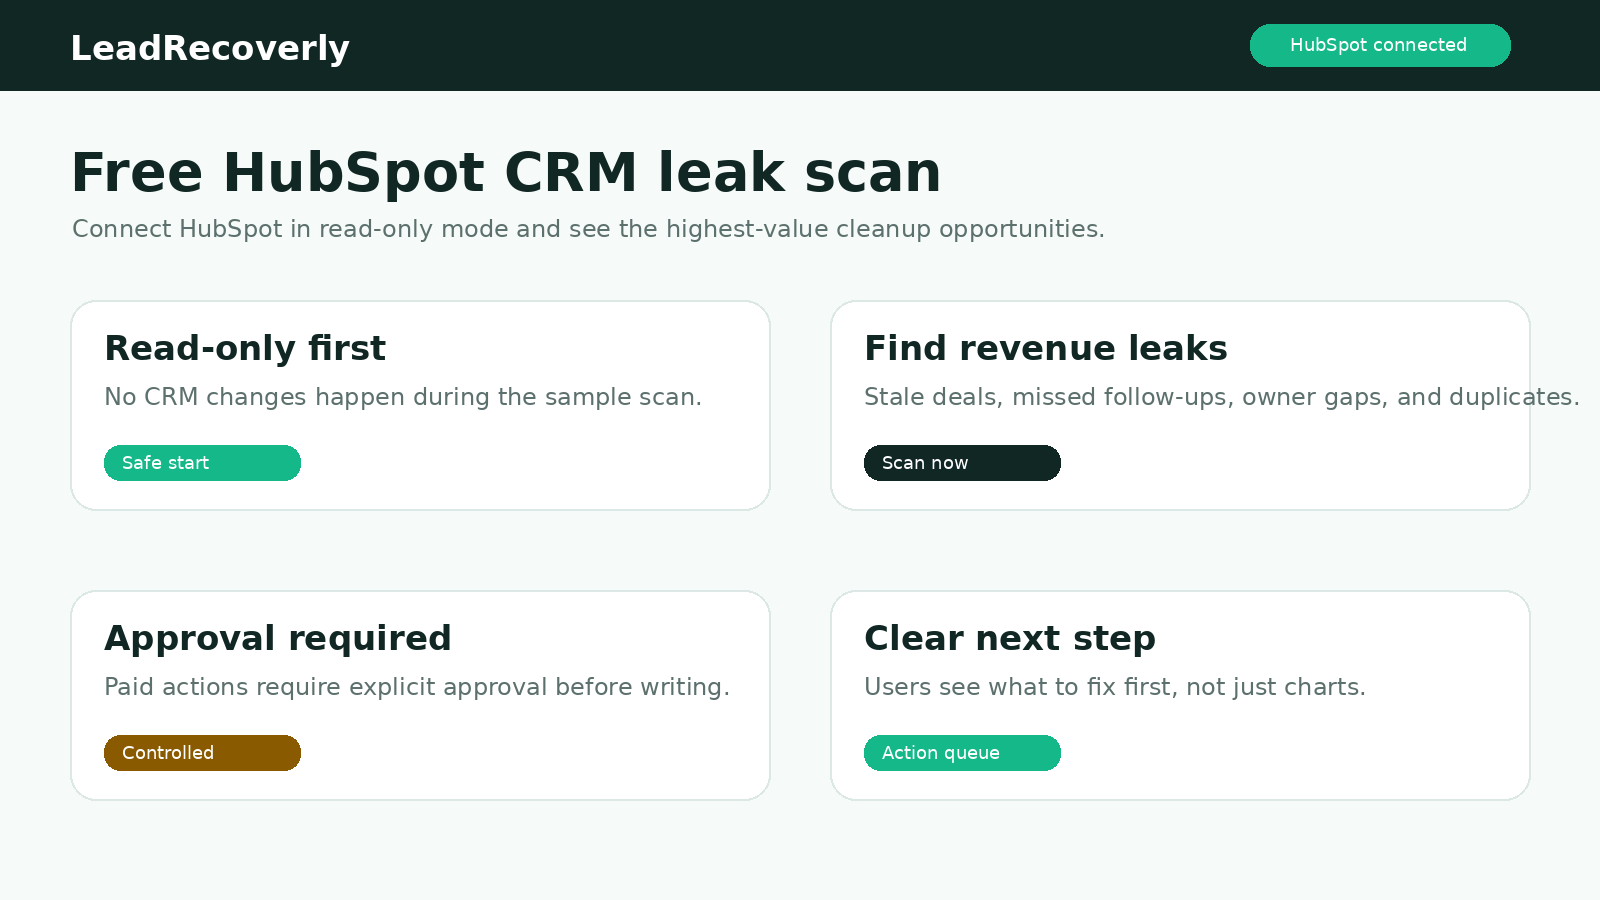
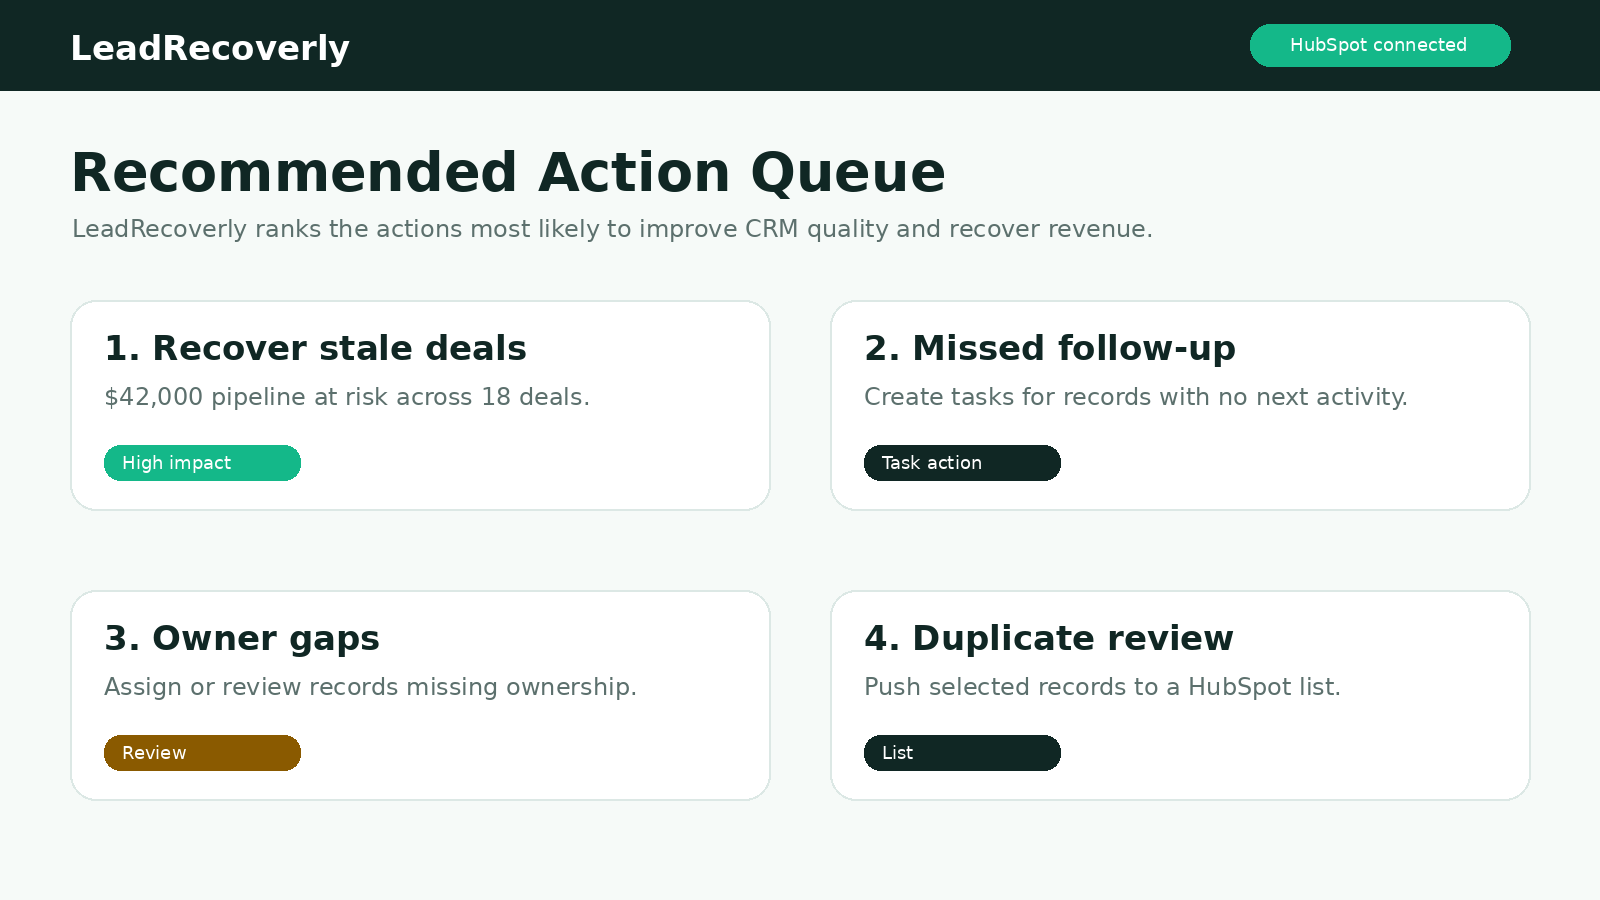
LeadRecoverly scans HubSpot CRM records for stale deals, missed follow-ups, ownerless records, duplicate risk, missing CRM data, and pipeline cleanup issues. It then gives users a prioritized action queue. The first scan is read-only. Optional HubSpot write actions require preview, user approval, action logging, and typed confirmation for bulk actions.
Read-only scan first Approval required before writes Bulk actions require typing yes Undo Center included
Before you install
- You need a HubSpot account with permission to install connected apps.
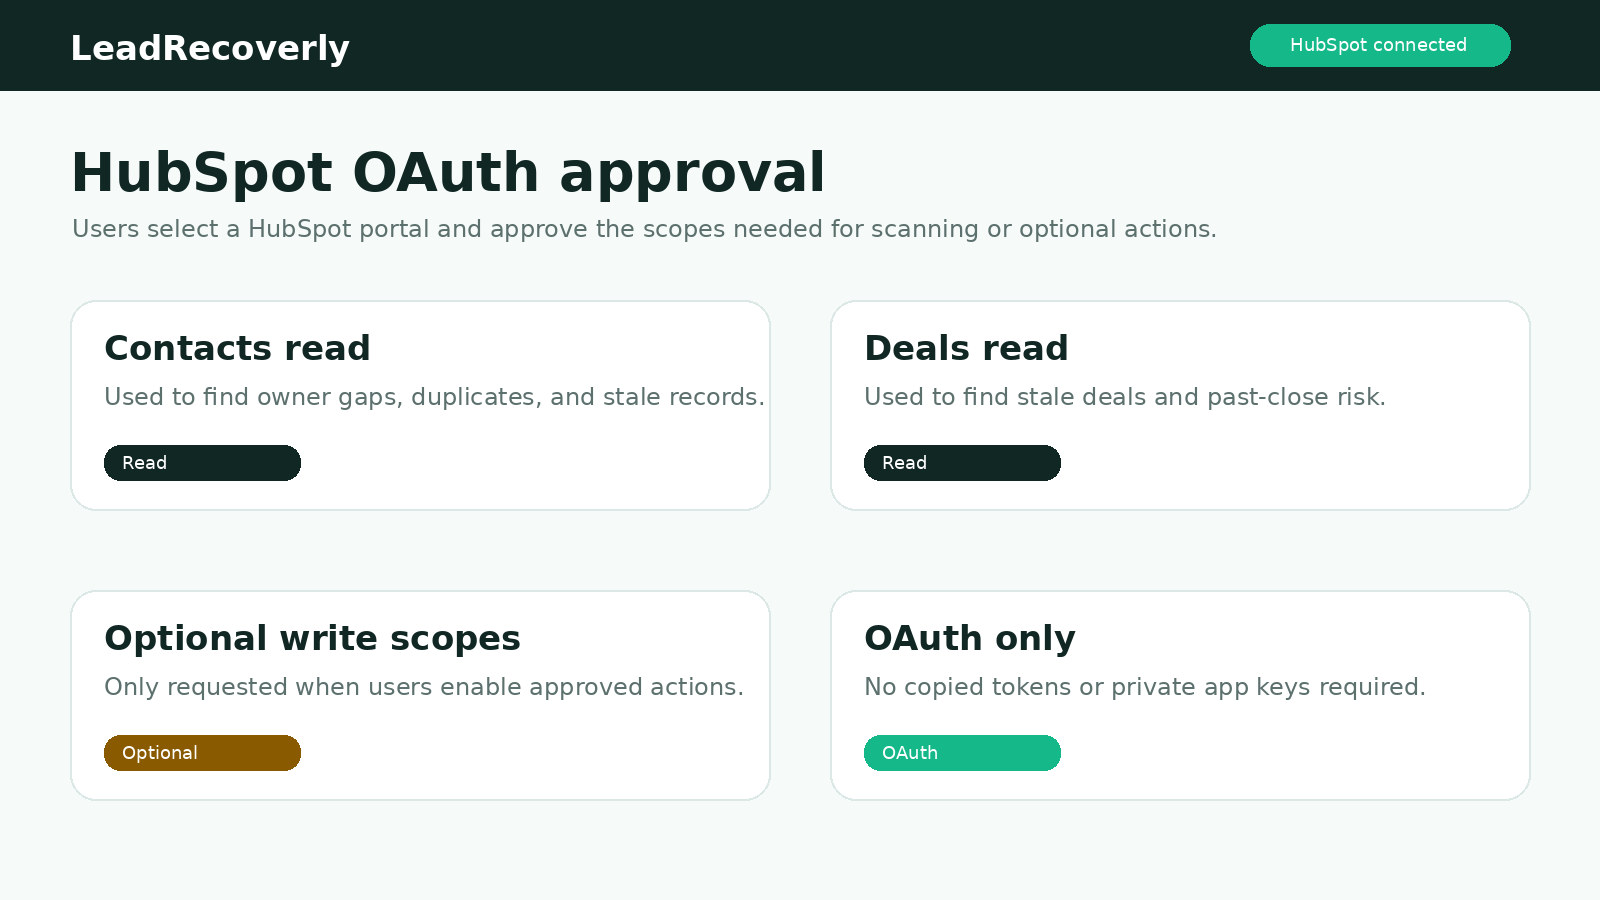
- Free reports use read access to inspect CRM records and activity indicators.
- Paid approved actions may request additional write scopes for creating review lists, static lists, optional LeadRecoverly custom properties, and approved field updates.
- No-Touch Mode can be enabled inside the dashboard to hide/block write actions.
1. Install and connect HubSpot
- Open Get free HubSpot report or Login.
- Click Connect HubSpot.
- Select the HubSpot account you want to scan.
- Review the HubSpot OAuth approval screen and requested scopes.
- Approve the connection. HubSpot will redirect you back to LeadRecoverly at
https://leadrecoverly.com/.netlify/functions/.hubspot-callback
2. Configure LeadRecoverly
- Run a scan to generate the CRM health score and findings.
- Review the Recommended Action Queue.
- Optional: turn on No-Touch Mode if you only want scan/reporting.
- Optional: on paid plans, reconnect with write access to enable approved lists, field updates, and LeadRecoverly tracking fields.
- Optional: click Create LeadRecoverly tracking fields to create/update LeadRecoverly priority, issue type, review status, last scan date, recommended action, and recovery reason fields in HubSpot.
3. Use the app
- Free Report: shows a sample of CRM issues without changing HubSpot.
- Clean: cleanup queue, exports, optional safe bulk actions up to 10 records.
- Recover: recovery queue, follow-up review lists, static lists, weekly digest preview, optional safe bulk actions up to 25 records.
- Optimize: monitoring, scorecards, broader reporting, optional safe bulk actions up to 50 records.
Approved actions and bulk safety
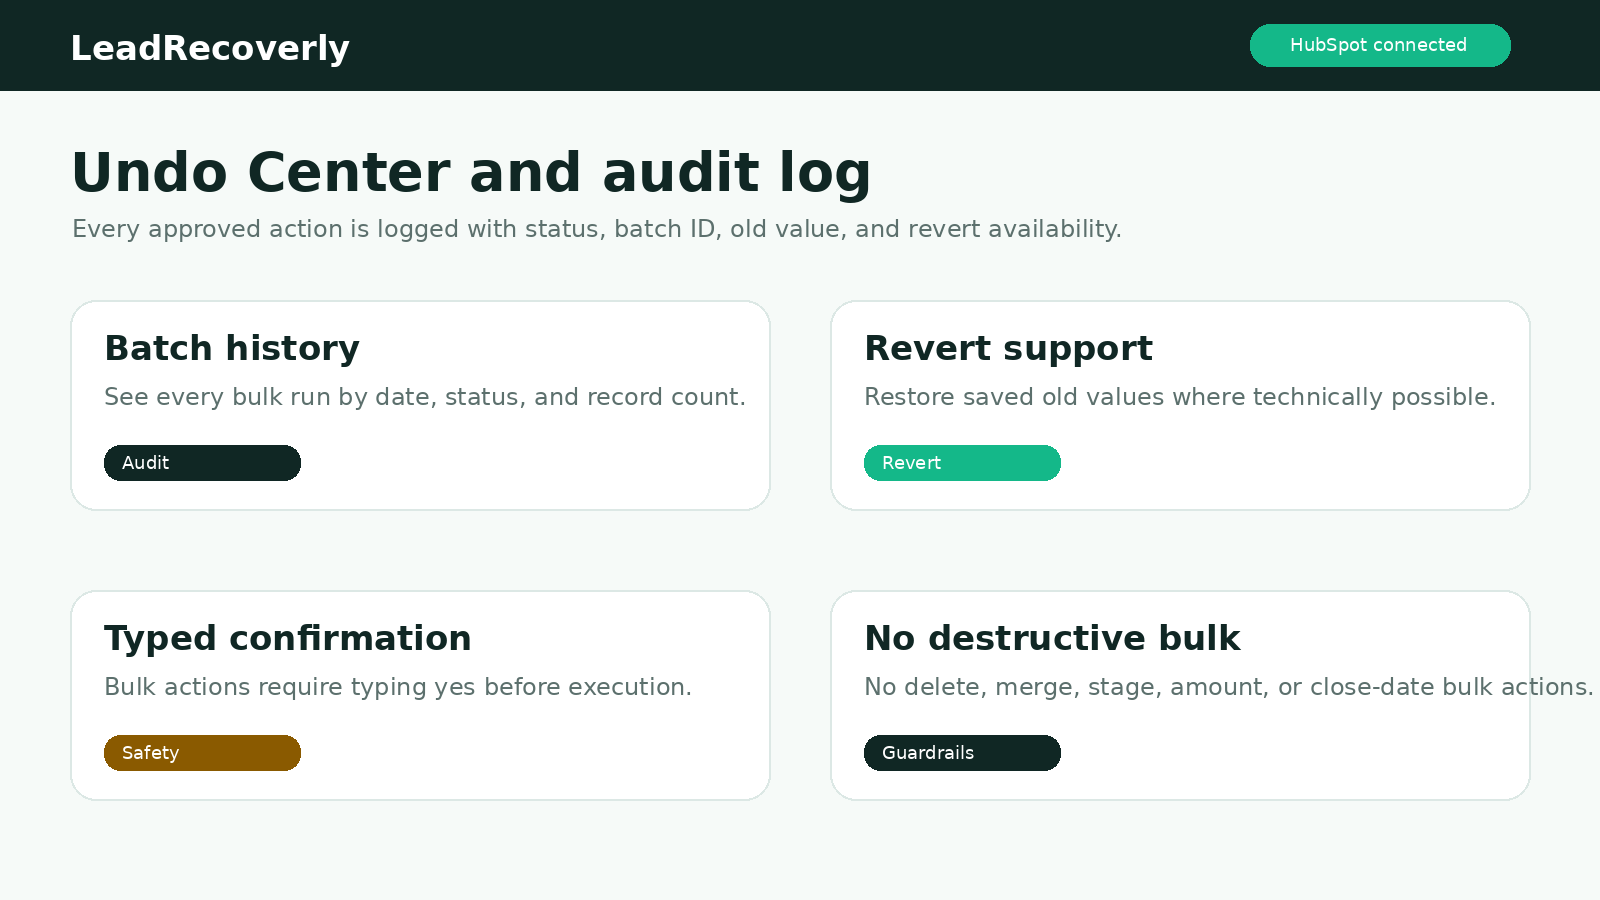
LeadRecoverly does not silently modify CRM data. Single-record actions require an approval note and checkbox. Bulk actions require a dry-run preview, approval note, checkbox, and typing yes. High-impact fields such as deal stage, lifecycle stage, close date, amount, and lead status are blocked from bulk writes and remain recommendation-only or single-record review.
4. Disconnect the app
- Open the LeadRecoverly workspace.
- Click Disconnect or use the disconnect option in your workspace.
- LeadRecoverly removes the local HubSpot session and attempts HubSpot app uninstall/removal using HubSpot's App Uninstalls API when an active OAuth token is available.
- If the app still appears inside HubSpot, go to HubSpot Settings → Integrations → Connected Apps and remove LeadRecoverly.
5. Uninstall from HubSpot
You can uninstall LeadRecoverly directly inside HubSpot under Settings → Integrations → Connected Apps. Removing the app stops future OAuth-authenticated access and disables scans/actions until you reconnect.
Data consequences of disconnecting or uninstalling
- LeadRecoverly can no longer scan HubSpot or execute approved actions after authorization is removed.
- Previously created HubSpot records, such as review lists, static lists, and optional LeadRecoverly custom properties, may remain in HubSpot unless separately deleted or reverted.
- LeadRecoverly may retain account, billing, scan, finding, and action-log data according to the Privacy Policy and Data Processing Addendum.
- You can request deletion at Data Deletion or by emailing support@leadrecoverly.com.
Troubleshooting
- If OAuth fails, confirm the HubSpot app redirect URL is
https://leadrecoverly.com/.netlify/functions/.hubspot-callback - If write actions are unavailable, reconnect with write access and confirm your HubSpot user has permission to update CRM records, create lists, and manage properties.
- If a paid feature is missing, check your plan, Stripe subscription status, and HubSpot portal connection.
- For help, email support@leadrecoverly.com.
Database setup
Optional Supabase SQL migration
If preflight shows missing Supabase tables, run supabase-schema.sql in the Supabase SQL Editor. The app can launch using Netlify Blob fallbacks, but the SQL migration gives you full durable reporting, analytics, and admin history.
External pages
Stripe Billing Portal, Stripe Checkout, HubSpot authorization, and other off-site links open in a new tab where the browser allows it. If a browser blocks the new tab, LeadRecoverly falls back to same-tab navigation so the action still works.